Showing posts with label pattern. Show all posts

Sunday, January 31, 2021

January sewing

 So this year I signed up for the 52 week sewing challenge on Facebook. I've made it to week 4 ok, I'm not sure I'll be able to do all the challenges as I find myself thinking of new things I could do to meet the challenge instead of making things from my to-do list!

Week 1

Week 1 was "organise your sewing space", as I'm currently using the kitchen table for sewing, I organised my storage space instead and I went through and catalogued my fabric into albums on my phone so I can plan things without pulling everything out constantly. It was also annoying me that all my cotton thread was stored upstairs in my sewing box, so I found a tin to keep it in instead so I could bring it all up and down instead.


Week 2

Week 2 was "complete a work in progress/unfinished project". I had started making myself a tshirt and got really annoyed with the neckband after I had done it wrong twice, so I sat down and finished that off. It's still not perfect (the neckband should be ribbing really and I don't have any, so I used jersey which isn't really stretchy enough) but I will wear it anyway because I like the main fabric. And maybe one day I'll re-do the neck. (Pattern is Slim Fit Raglan from Patterns for Pirates, fabric is from Fabricasa but looks like they've sold out of that design)


Week 3

Week 3 was "make up a pattern you own that you've never made". Now I have several that fit that description, but in the end I decided to make up Hallå Patterns Twirly Skirt. It's a simple circle skirt so doesn't really need a pattern, but hey it's a free pattern and I don't have an easy way to draw a circle that big. Also it has pockets! Love pockets. I made it from some modal fabric that I'd acquired - mainly because I seem to buy 1m lengths of most things so I didn't have many pieces big enough - the modal feels nice to wear but it was very stretchy so a little difficult to work with especially on the hem.


Week 4

Week 4 was "make something for your head or feet" well I had promised a while ago to make a birthday crown for my friend's little girl so I did that. It's the same as the Christmas crowns I made, Crowning Glory from Made by Jack's Mum.


I also seem to be doing a "make all the cuddly toys" challenge with my toddler. I got a lovely panel from Bugweed's Fabrics and Crafts with easy cut and sew cuddly toys, and we've been making some of those up. She also requested an orange dinosaur, which we drafted from a picture in her dinosaur book, and soon it will be her friend's birthday so we made a pink bear using the free Plushie Pals pattern from Patterns for Pirates. (free patterns may be a theme - I do buy patterns but the free ones seem to be easier!)

Saturday, January 2, 2021

New year, new post

 First, the UFOs:
The only one I finished was the Fabric baby book. One of my colleagues was expecting a baby, so I finished it all except for the cover - and then we all started working from home before I could give it to him, and he's now left the company, so I guess it will keep for another baby! It's quite nice though


Once that was done, I made a rainbow blanket for my friends who were also expecting. It was made with rainbow yarn so I didn't need to keep switching colours, and it came out quite well, if a little bit longer than I meant it to.

 
I even made an easter chick from a kit!

By then lockdown/working from home was in full swing, so I didn't get much else done till later in the summer as work was busy. I did manage to make a "bumblebee costume" one evening thanks to a random request:


Once work quieted down a bit at the end of September, I had more free time in the evenings (bed times had also got a bit earlier I think). So I made quite a lot (well, quite a lot for someone only sewing two hours a day) of clothes for the small one - mainly leggings but also a dress. I also made some for a couple of her friends. And we managed to finish the hat to go with her red pinafore, she requested doll's clothes for her scary looking doll one day, last of all I made her a party crown for Christmas.


I did manage to make some things that weren't children's clothes, too - mainly presents, but hopefully I can make myself something in the new year!


The best thing I got all year (got it in January, which seems so long ago) was my zigzag attachment which means I can do zigzag seams with my Singer sewing machine - otherwise I couldn't sew all these lovely knit fabrics!


And this year I've signed up to the 52 week sewing challenge on Facebook, so who knows I might be able to post a few more blogs since I'm documenting it all there anyway.


Saturday, May 4, 2019

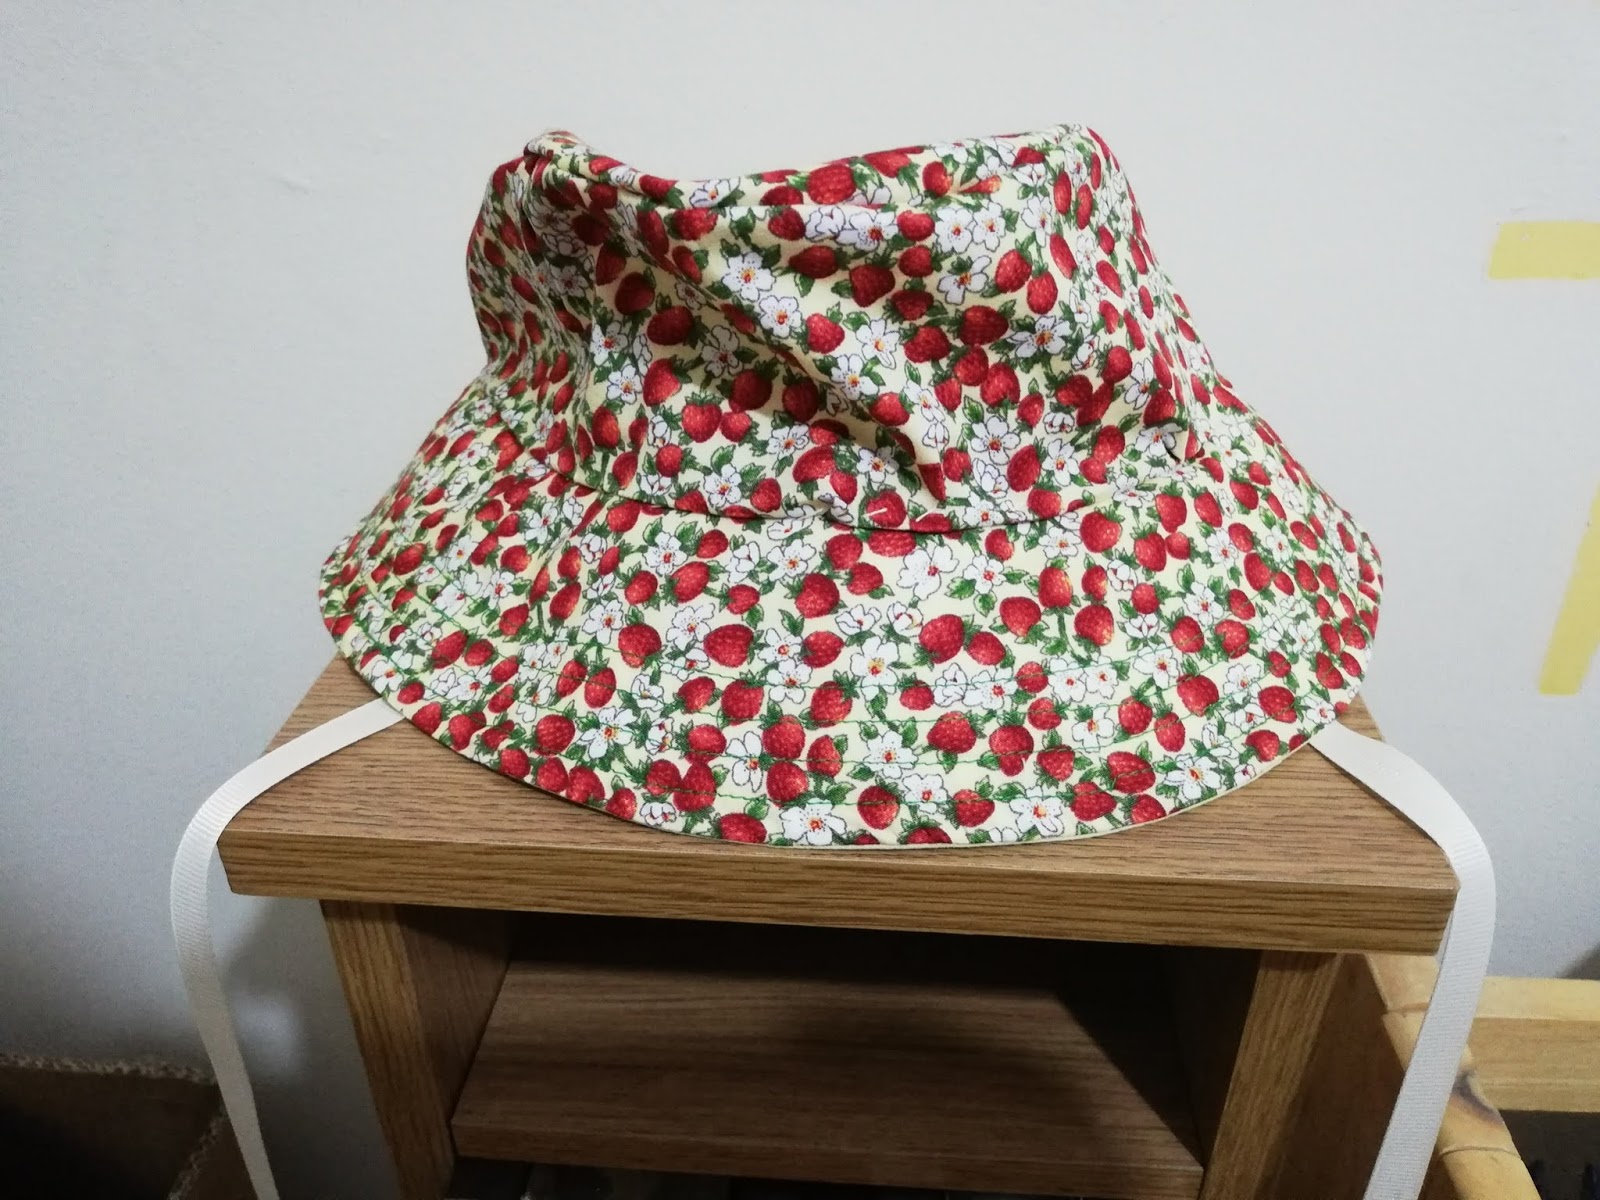
Reversible toddler sun hat - free pattern from Oliver + S

It's getting to be that time of year again where the child needs a sunhat, so I decided to make her one out of some fabrics from my stash. I used this free pattern from Oliver + S. Here are my fabrics, I used two fat quarters that I already had and some ribbon that I also had so I have managed to make a project without buying any additional stuff (which I never normally do!)
Mainly I followed the pattern instructions, with a couple of variations: - I pressed the edge of the side pieces 1/2" to make it easier to create the seams between the side, crown and brim. It's quite tricky to pin otherwise.
- I added two ribbon ties at the side seams when attaching the sides to the brim so that we can tie it to her head (it doesn't actually keep it on her head much more that usual unfortunately) - Initially I hand stitched the final seam as the pattern instructed, but I don't like how the hand stitching looks so I am planing to machine sew a seam very near the join and take out the hand stitches. I am using a contrasting thread as I like the way it stands out.
And here we are! A reversible sunhat which can also double as a rain hat if it’s not too wet.
She even kept it on her head long enough for me to take a photo< Br/>

Friday, March 29, 2019

Toddler apron!

My toddler likes helping me bake, so my friend’s mum made her a little apron that she could wear.
My friend’s little girl also likes to bake, so I decided to use the one we have as a pattern to make her a present.
It’s very easy once you have the measurements so here’s a sketch:
I made a narrow hem using the hemming foot on my sewing machine, but if you don’t have a special foot you can just do a normal hem making sure that the raw edges are turned under so it doesn’t fray. That’s actually what I did on the top and bottom hems anyway.

Then I attached the ribbons for the apron strings. First I folded over about a quarter of an inch at the end as a hem so that it wouldn’t fray. I put Velcro on the neck ties so that it can be adjustable but also easy to take on and off. Lengths for the ribbons: 2 lengths of 15” long for the waist ties, 1 length of 8” long with about 1” Velcro (the scratchy hook side), 1 length of 12” long with about 4” Velcro (the soft loop side).


Finally, I also got some appliqué letters to spell out her name across the front.
I hope she likes it!