Showing posts with label blue. Show all posts

Friday, March 29, 2019

Toddler apron!

My toddler likes helping me bake, so my friend’s mum made her a little apron that she could wear.
My friend’s little girl also likes to bake, so I decided to use the one we have as a pattern to make her a present.
It’s very easy once you have the measurements so here’s a sketch:
I made a narrow hem using the hemming foot on my sewing machine, but if you don’t have a special foot you can just do a normal hem making sure that the raw edges are turned under so it doesn’t fray. That’s actually what I did on the top and bottom hems anyway.

Then I attached the ribbons for the apron strings. First I folded over about a quarter of an inch at the end as a hem so that it wouldn’t fray. I put Velcro on the neck ties so that it can be adjustable but also easy to take on and off. Lengths for the ribbons: 2 lengths of 15” long for the waist ties, 1 length of 8” long with about 1” Velcro (the scratchy hook side), 1 length of 12” long with about 4” Velcro (the soft loop side).


Finally, I also got some appliqué letters to spell out her name across the front.
I hope she likes it!

Wednesday, February 1, 2012

Quilting: Shoo-fly - 1/2/12

This block is called the shoo-fly block (named after a shoo fly pie, though I don't see how it looks like that at all!)
Anyway this block uses two of the templates from last week's sailboat block (the small triangle and the small rectangle), along with the big square from the first block (double four-patch).
One big square for the centre
Four rectangles
Eight triangles (four of each colour)
My block has four different fabrics, but you could easily make it out of just two.

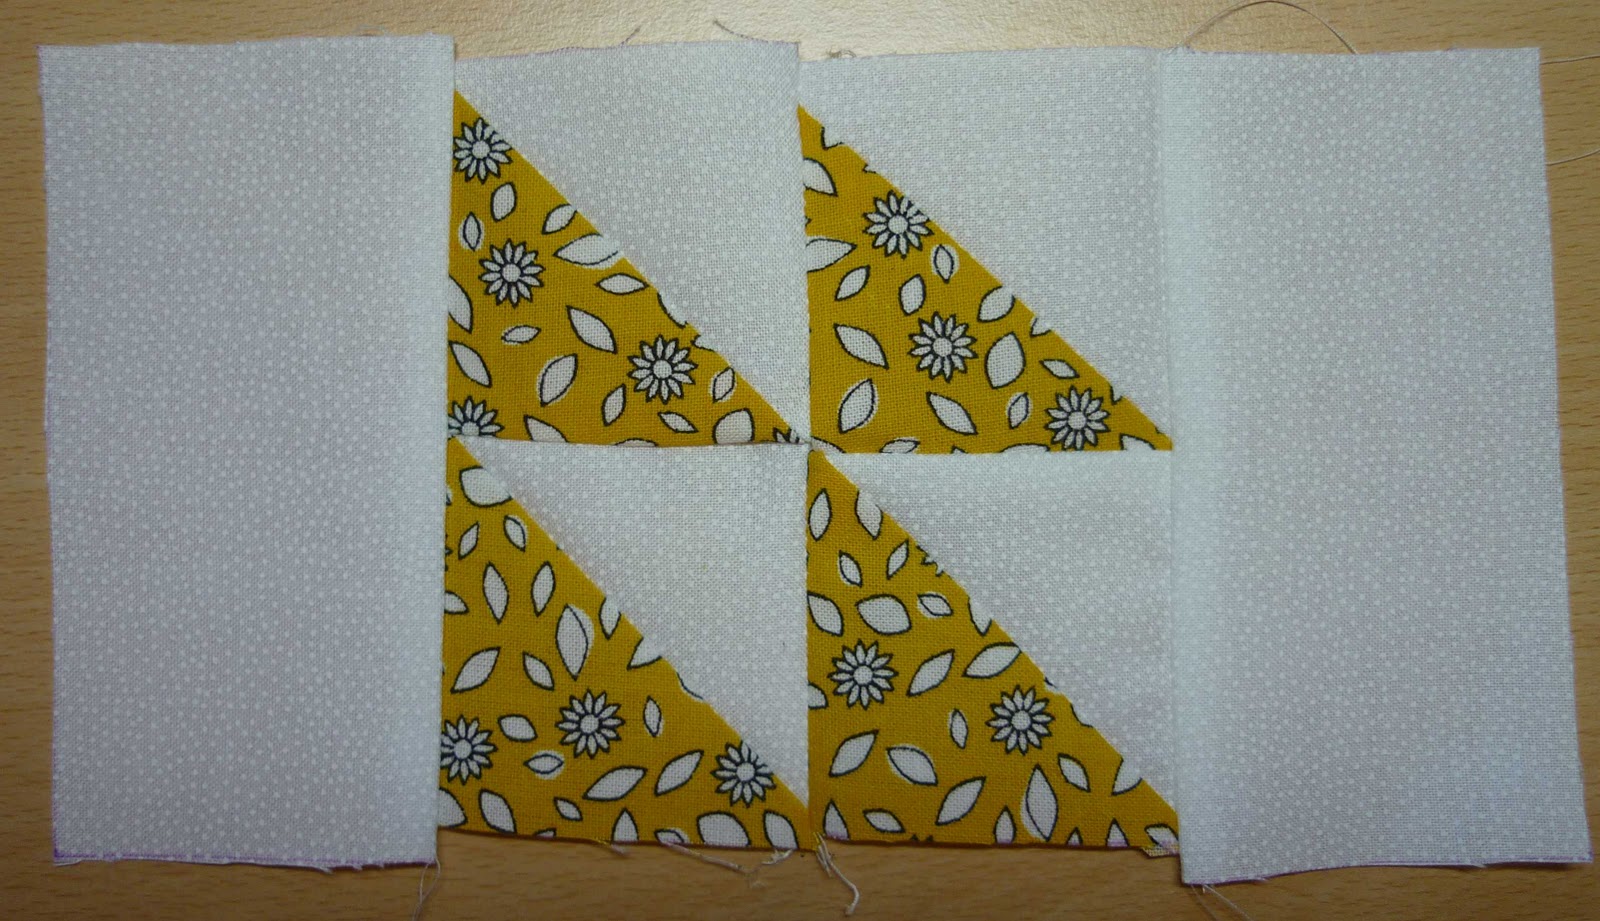
Start by sewing the small triangles to make small squares
Fabric laid out after I'd sewn the small triangles together
Then you make up the horizontal strips by sewing two small squares to one rectangle, and the two other rectangles to the central big square.
Finally you sew the horizontal strips together to make a square
I think I need to work on the accuracy of my seam allowances and make myself a guide to stick to my sewing machine as well as just using the presser foot, as the seams should line up and they don't really!

The edges aren't completely straight either, I think I had too much seam allowance when I was sewing together the small triangles, but I can hide the wobbly edges when I sew the whole quilt together!

Thursday, January 26, 2012

Quilting: Sailboat - 26/1/12

This week's quilt block is a stylised picture of a boat. It has more pieces than the first two and so it's more complicated!
It has four colours and four different shapes. The colours are for the sky, the sea, the sails, and the boat. The shapes are small triangles, small recangles, long rectangle and trapezium (though you could make the trapezium out of one small rectangle and two triangles I suppose).
When you are sewing this block together, it's important to press the seams as you go, otherwise it will probably end up all lumpy at the back and won't lie flat at the end!
The pattern and number of shapes can be seen in the picture below
Cut pieces ready for sewing
First you sew the small triangles of sky to the sails (to make squares):
Then you sew the small squares together to make a big square (as in the double four-patch block), and then the rectangles of sky go on each side:
For the boat/sea half, first the trapezium boat sews onto the triangles of sea, then the long rectangle of sea goes along the bottom:
Finally top and bottom halves join together to make the finished block

My block has gone a bit crooked, I think this is because my final seam wasn't straight. I'll see how well the next few squares turn out, and if it's too annoying I'll unpick it and re-do it.

Sunday, January 15, 2012

Quilting: Double Four-patch - 14/1/12

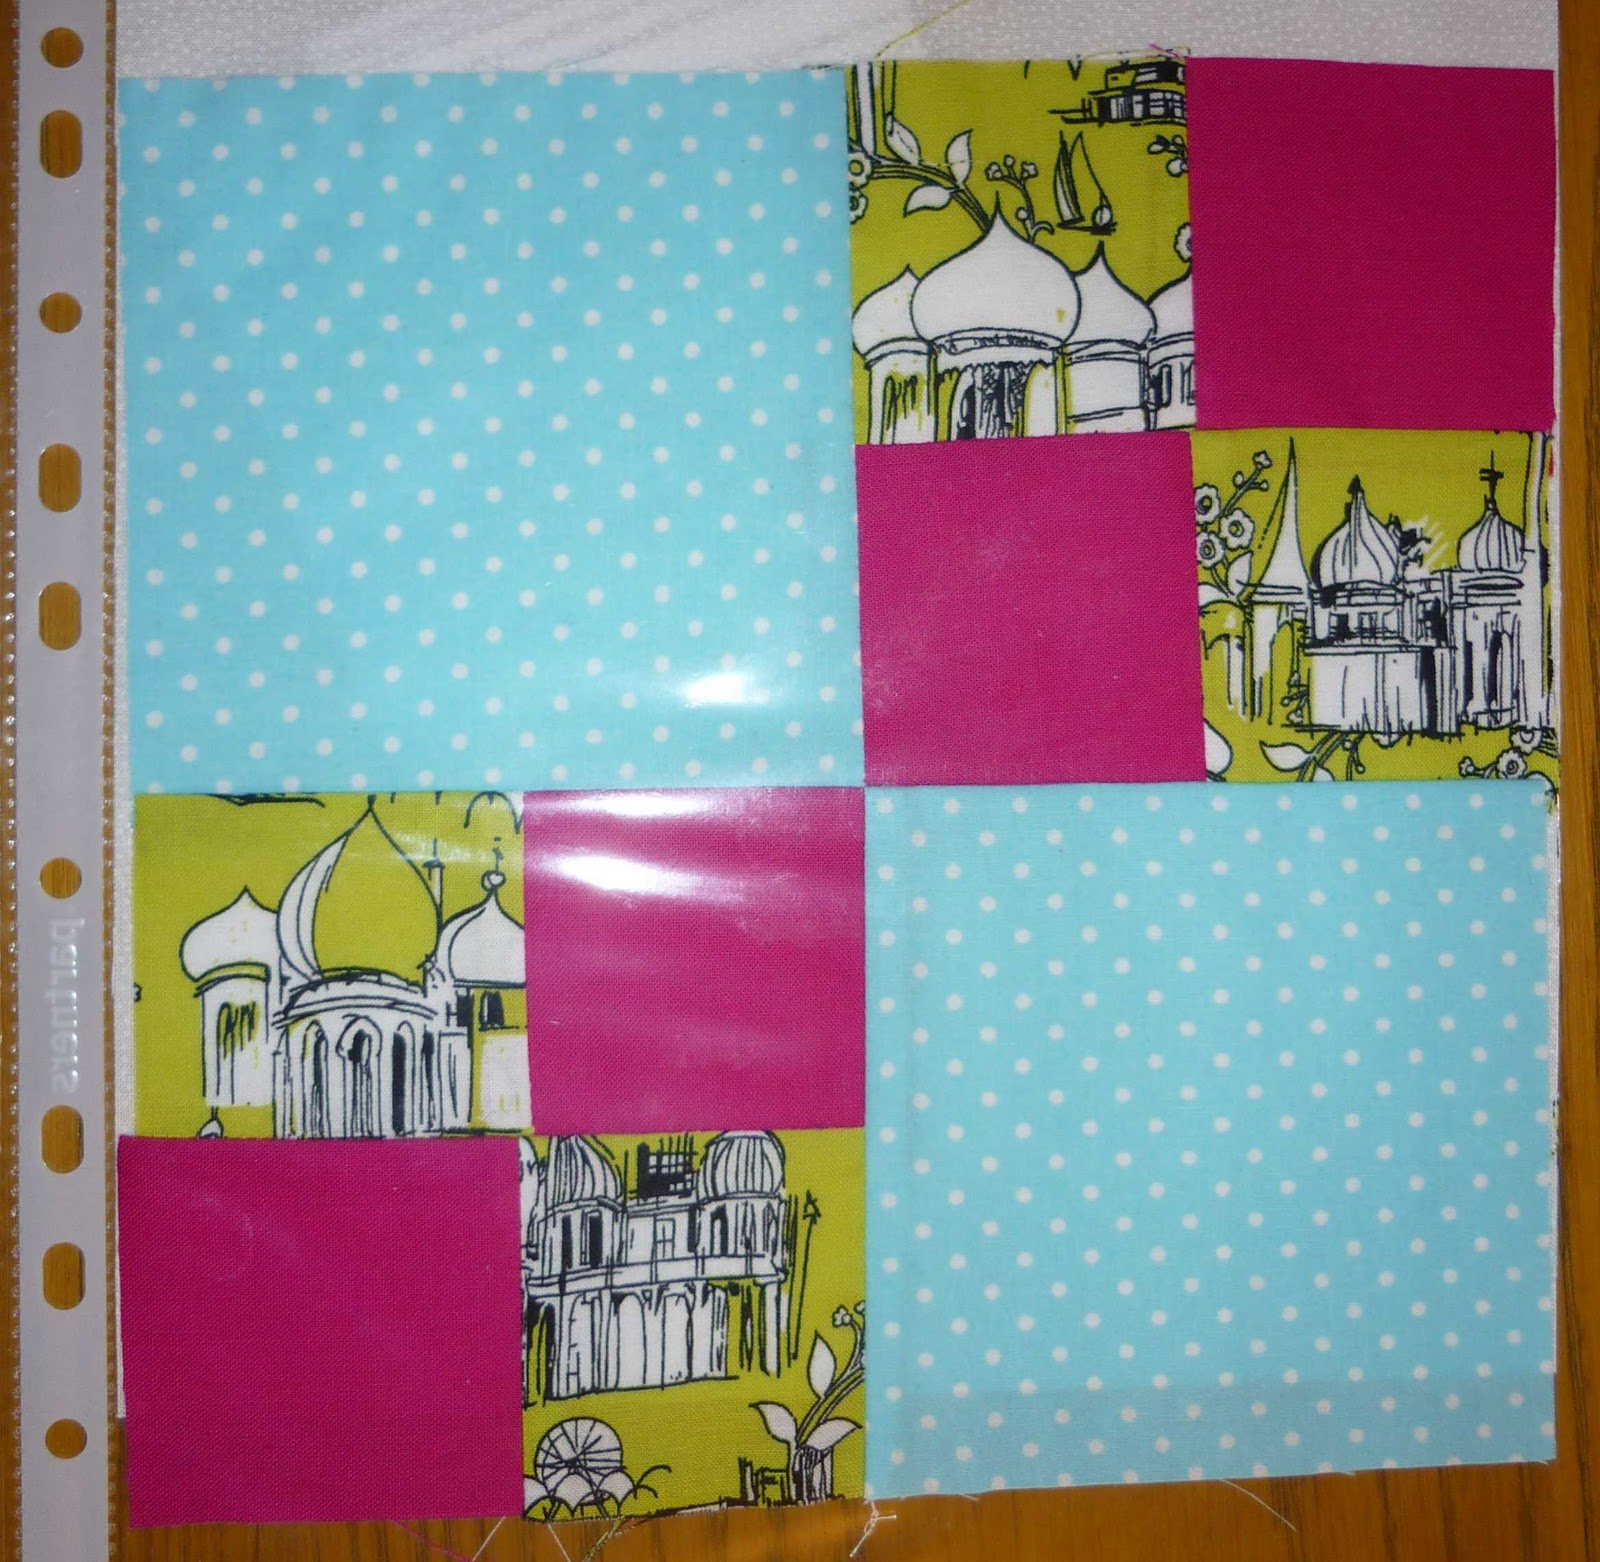
I've started learning to quilt, to make a sampler quilt made up of lots of different blocks with different patterns. Hopefully this means I can do some sewing but it won't take up too much of my time. I'm going to make one block a week, and this week I started with a double four-patch block. This is made up of two big blocks and eight little blocks, as you can see:

It's quite easy to make, first of all you sew together the smaller squares into a big square and then you sew all four big squares together. I'm using my lovely sewing machine to make this as I'm too lazy to hand-sew so much (also I'd just sew it wrong and have to unpick everything!)
If you want to make one yourself, my templates for the small squares are 63mm (2.5 inches) square, and the large squares are 112mm (4 3/8 inches) square. This gives you 6mm (1/4 inch) seam allowance, and the finished block is about 30cm or 12 inches square.

When I do more complicated patterns, I'll try to take pictures as I go along to make it clearer how you sew it together.

Sunday, October 30, 2011

Two birthday cards - 29/10/11

The end of October/beginning of November seems to be a mini birthday season. Here are some cards I made the other day:

This card is an autumn theme as I have lots of skeleton leaves and also October is full of falling leaves. White card, pen & ink, stick-on flowers, skeleton leaves, stick-on letters.
This card is Halloween themed as this birthday is on October 31st. White card covered in dark blue paper, pumpkin made of orange paper with gold stars for eyes and nose, bats cut out of the blue paper, stick-on lettering.

Tuesday, October 18, 2011

Tall Ship Necker - finally finished

Last summer (that's summer 2010 I mean), I went sailing on STS Lord Nelson as part of Girlguiding UK's centenary celebrations. We were divided into four watches and each watch had a different colour necker. I was in Aft Starboard watch, with blue neckers.
Some of us made little cross stitch designs while we were on board, and some people brought blanket badges for swaps. So when I got home I decided to sew my swaps and my cross stitch to my necker.
While we were moving house, I found my half-completed necker so I sat down the other day and finished sewing on the last couple of badges. Frome Valley is near Bristol, Chandler's Ford is near Southampton, the cross with the roses is Cumbria I think, and the bear is Warwickshire. The white square badge was one that was made for everyone on the voyage, and Waterford was the port we visited en route. In the cross stitch patch there are dolphins because we saw lots on our way, a little duck which was hidden somewhere in the ship, a shamrock for ireland which we visited, and a friendship knot made up of the colours of the watches (blue, yellow, pink and white).
Close up of badgesDetail of cross stitch

Friday, October 7, 2011

Christening card - 6/10/11

The baby I made a card for a few months ago is being christened, so I thought I'd make a similar card for her christening.
Birth cardChristening card
I gluyed together the sky & hills, then I cut out the cross and stuck everything to the main card so that the white showed through. The rays of light and letters were added later.

Friday, September 30, 2011

Denim skirt from jeans - 25/9 to 29/9/11

I found this project on the Singer website (here).
I had a pair of jeans with rips in both knees so I thought I'd make a skirt out of them. The length was dictated by the location of the rips! It ended up just above knee length.
Legs cut off
 It took quite a long time to unpick all the seams so I got a bit bored between unpicking and sewing back together.
Here is the finished skirt:
Front of skirt
Back of skirt
The seams went a bit funny where they changed from the existing seam to mine. This is because I couldn't do the seams the same way the manufacturers had because I'm not good enough at sewing (and my machine can't do zigzag).
Now I need to think of another project to do though we're moving house soon so I might just have a rest from crafty things while we pack everything into boxes!

Thursday, June 9, 2011

Wedding reply card - 9/6/11

This is a card I made to reply to a friend's wedding invitation. Their wedding colours are mostly blue, and the flowers are going to be sunflowers, so I decided to put a picture of them both inside a sunflower shape.
I used Paint.Net to mainpulate the image as I don't have Photoshop. I couldn't draw the sunflower very well using that so I drew it in AutoCAD (though a different drawing programme would work just as well), and dropped it into the photo image on a different layer.
Template for the sunflower
Final image to print onto card

Once I'd printed the card, I embellished it with some stick-ons and hand wrote the greeting for the front.
The card is lined with cream paper, mostly so that I could write the message without worrying about messing up my lovely card!

Finished design
Card standing up

Saturday, April 2, 2011

New baby card - 2/4/11

This is a card for a new baby called Dawn, hence the sunrise:
Landscape card of a sunrise: folded card, coloured paper, gold star, silver pen and white ribbon.
You can't quite see in the photo but the paper colours are pale pink, orange and dark blue, with bright yellow for the sun's rays. The silver dots in the sky are supposed to be tiny stars.

UPDATE: the parents liked the card so much they are framing it to put up in the baby's room! Success!