One of my other hobbies is playing the trading card game Magic: the Gathering (not that I play very much these days but before my daughter was born I was more active). They release a new set of cards about four times a year, and in 2016 they released this card:
Heir of Falkenrath Gatherer Link
My first thought was “what a cool dress! I’d love a dress like that” and since I was going to a large tournament in Manchester while that card was current, I decided to make a cosplay.
So, where to start? Firstly I took a look at a larger sized image of the card art (the artist is Jason Rainville, by the way). In a way I’m lucky that this card has two images to work from as the two angles give me more of an idea of how the dress would be constructed.
Obviously it’s strapless, and looking at the second image you can see that the sleeves are actually completely separate, not like some dresses you would get that have the sleeves connect to the bodice without having fabric on the shoulders. So I decided that the easiest way to create that for an amateur like myself would be to buy a corset and decorate that, making the accessories.
Bodice decoration
Most corsets are not just laced up the back, but also have a fastening up the front formed from a pair of metal strips that hook together (a busk). This means that you can get the corset on and off easily without having to completely unlace the back or pull it over your head. Obviously the character’s dress has embroidery all the way across the front so I would need to hide the busk but also make it easy to get on and off so I made a false front decorated with a piece of bridal lace, which I attached to the corset with Velcro. My thought at the time was that I would be able to wear the corset at other times as well, but so far I’ve only worn it as part of the costume.
I had to make a couple of test pieces out of scrap fabric as well as a paper pattern so that I could make it fit the curves of the corset properly. In the end I didn’t manage to centre the lace perfectly which does annoy me a bit but not enough to re-do it.
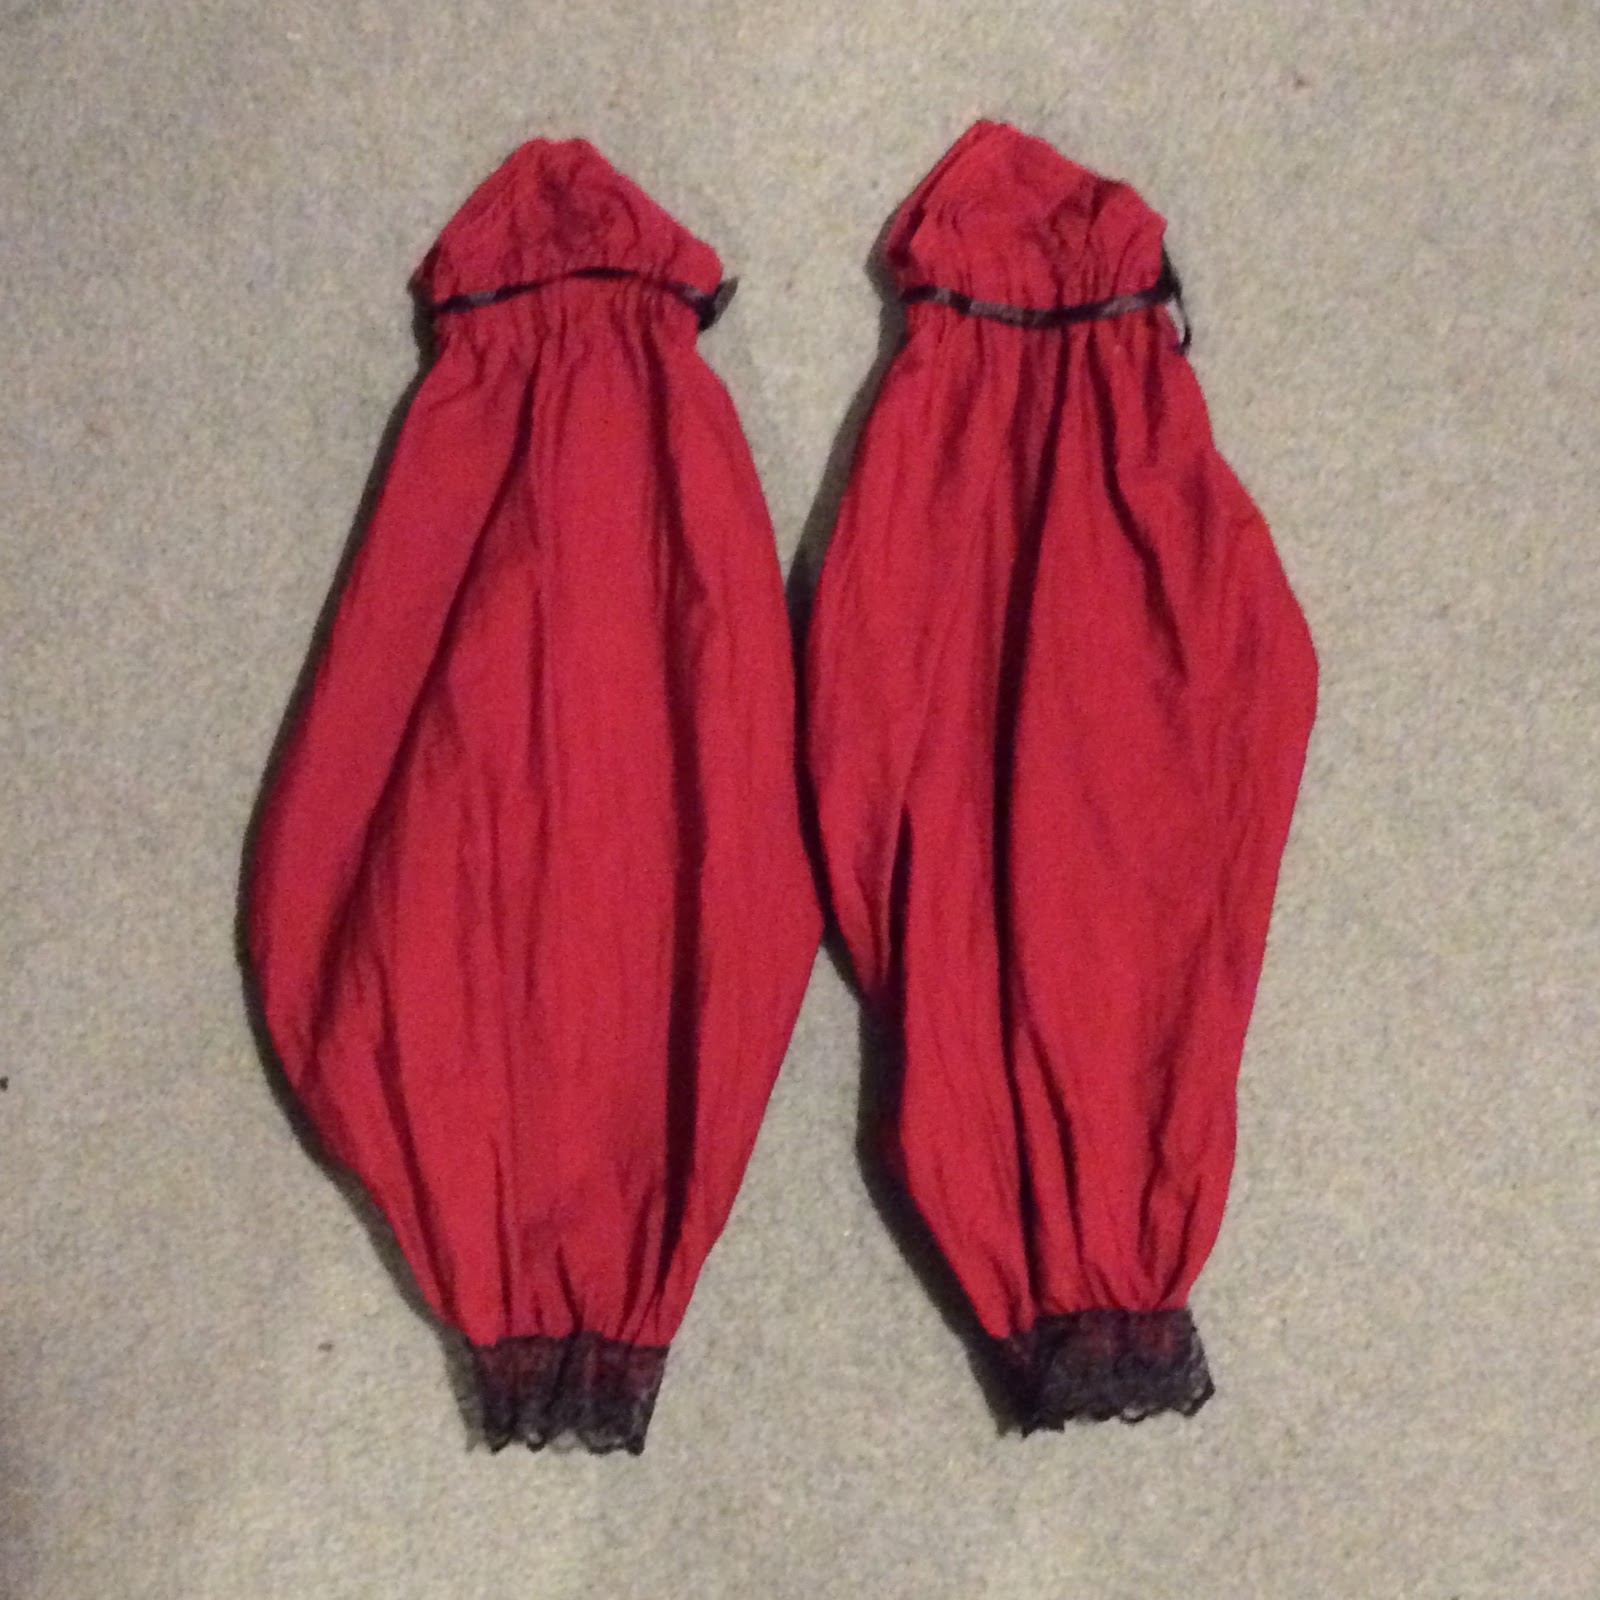
Sleeves
As I said earlier, the red sleeves are actually totally separate from the bodice. I wanted them to be nice and puffy so I gathered them at each end and added ribbon at the top to help them stay up and lace at the wrists for decoration. One of them does fall down more than the other but I think they are pretty effective.
Cloak
While the first image seems to show the cloak being attached across the vampire’s stomach with a jewelled chain, the second image has no sign of the chain and the cloak seems to be attached around the arms. I decided for reasons of practicality that I would attach the cloak around my sleeves with velcroed ribbon so that my arms would be fairly free to move about and so that I could put on and take off the costume unaided. I found a few tutorials online for making a child’s bat-wing cloak, and I adapted a pattern. It’s basically a rectangle with some arcs cut out for the batwing shape, and I gathered the top edge slightly to shape it a little. As it was going across the back of my shoulder blades rather than over my shoulders, I could get away with a simple shape. I also attached two rings so that I could hook it to the back of the corset so that it didn’t droop at the back.
Choker
One of the key things about this character’s outfit that you might not notice at first, is that the ‘negative space’ between her choker, her neckline and her sleeves makes the shape of a bat.
The choker was therefore essential to get the batwing in my cosplay.
The main piece is just black cotton, stitched together and turned inside out so that there were no hems visible, joined at the back with hooks and eyes. I used lace and rhinestones to do the detailing, and crocheted some ‘chains’ for the big red beads that form the bat’s eyes. It may not be as perfect as the art, but if you look you can see the bat.
So that was the outfit - I managed to find a suitable skirt and some makeup (I opted to go for the civilized version rather than run around all day with fake blood all over my face)
Having spent quite a bit of time on the costume, I didn’t do very well in the tournament but I had a blast. Heres a link to the bigger versions of the card art if you’d like to admire them a bit more.
Heir of Falkenrath Heir to the Night
And big thanks to the artist
Jason Rainville as well as all the other Magic cosplayers who inspired me to give it a go.