Showing posts with label purple. Show all posts

Monday, August 6, 2012

Patchwork Owl - March 2012

I've been making things lately, but I keep forgetting to blog about them so stand by for a few posts in a row.
Partly that was because I was making things as presents so I didn't post about them before i gave the present, and then I forgot all about it!

So in March it was my mum's birthday. I decided to make her a cake which you can read about here, and as a present I made her a patchwork owl as she runs a Brownie pack so she is a 'Brown Owl'.

Patchwork owl sitting on the sofa!
The pattern was quite simple as the owl is symmetrical, the main problem I had was hemming the beak & eyes (you might be able to tell from the picture they're a bit frayed especially at the corner of the beak)

Anyway my mum loves it so that's the main thing!

Thursday, March 22, 2012

Purple bag - 22/3/12

It's been a while since I did any sewing, but I've had the fabric for this bag half cut out for about a month so yesterday I decided to sew it together.
It's made of three different fabrics, but you could use just two or even one. Here it is finished:

Finished bagShowing the lining
This bag's finished size is 29cm x 32cm, so it's just big enough to fit an A4-sized magazine. The handles are stiffenned with some iron-on interfacing (which I managed not to stick to the iron or the ironing board) but the bag itself is just made of cotton fabric. Hopefully I won't break it too soon!

Friday, January 20, 2012

Kindle cover - 20/1/12

Very productive today! Actually, I started this a few days ago but got a bit distracted.
My Kindle is 16.5cm x 11.5cm, so here's what I needed to make this cover:
  • Cotton fabric 35cm x 40cm (or two different pieces 30cm x 20cm if you want different pattern on the inside and outside)
  • Wadding approx 30cm x 18cm
  • Cotton thread
  • Sew-on velcro approx 10cm long
  • Flat elastic approx 20cm long
Here's a vague diagram of how the fabric and wadding relate to each other and the device:

I was adapting instructions to make a padded bag for a gadget, rather than a cover, so i didn't hem the cotton before I sewed the fabric to the wadding, but it would probably be easier if I had hemmed it first.

Mark lines along the cotton fabric spaced 2cm from each other (if you have a foot you can use as a guide, you don't need to do this although it might help anyway).

Then, you put a layer of cotton fabric on each side of the wadding, and pin all three layers together (if using one big piece of fabric, fold it in half and then put the wadding in the middle).
Using contrasting thread, tack the three layers together with long stitches.

Stitch back and forth along the 2cm spaced lines using your sewing machine (see the picture below). Leave about 3-4cm unquilted at one short edge for you to attach the velcro to.


Check that the piece is big enough to fit around your device once the quilting has been done. (Mine was too short, so I had to add another piece, but the measurements I've given above should be big enough for it).
Trim any spare wadding back to the last line of stitching, and sew the edges together neatly.

Before you attach the elastic to keep the deivce in place, it's probably a good idea to attach the velcro. The piece with the hooks goes on the inside of the cover on the part you didn't quilt (this should be on the half of the cover that will wrap over the front of your device) and then the softer piece can go on the back (behind where the device will be) and it won't catch on your clothes/bag/carpet/etc.

Now it's time to make sure your device won't fall out of its cover. Attach the elastic to the top and bottom of the cover.

My cover has a small flap along the top of the kindle to keep it in place (so one half of the fabric is wider than the other half), or you can just use elastic stretched across the width of the device and stitched at each end.

To keep the bottom of the device in place but still be able to press all the buttons, I stitched a piece of elastic diagonally across each corner:

And the kindle fits in its new snuggly home!

Open to read
Closed to carry about
I can take it out of the cover if I need to

Monday, December 19, 2011

Thank you cards - November/December 2011

Finally I got around to making thank you cards for our wedding presents. It took a while beacuse we were waiting to get a decent photo of the two of us to put onto them. Here's the finished result:
The card is A5-sized, so the photo is a 6x4 normal sized picture. They are doubling as christmas cards as I am too disorganised to do both (though they're probably not very festive!)

Wednesday, September 21, 2011

Sewing covers for things - 20/9/11 & 21/9/11

More adventures with the sewing machine (and projects I've been meaning to make for a while).
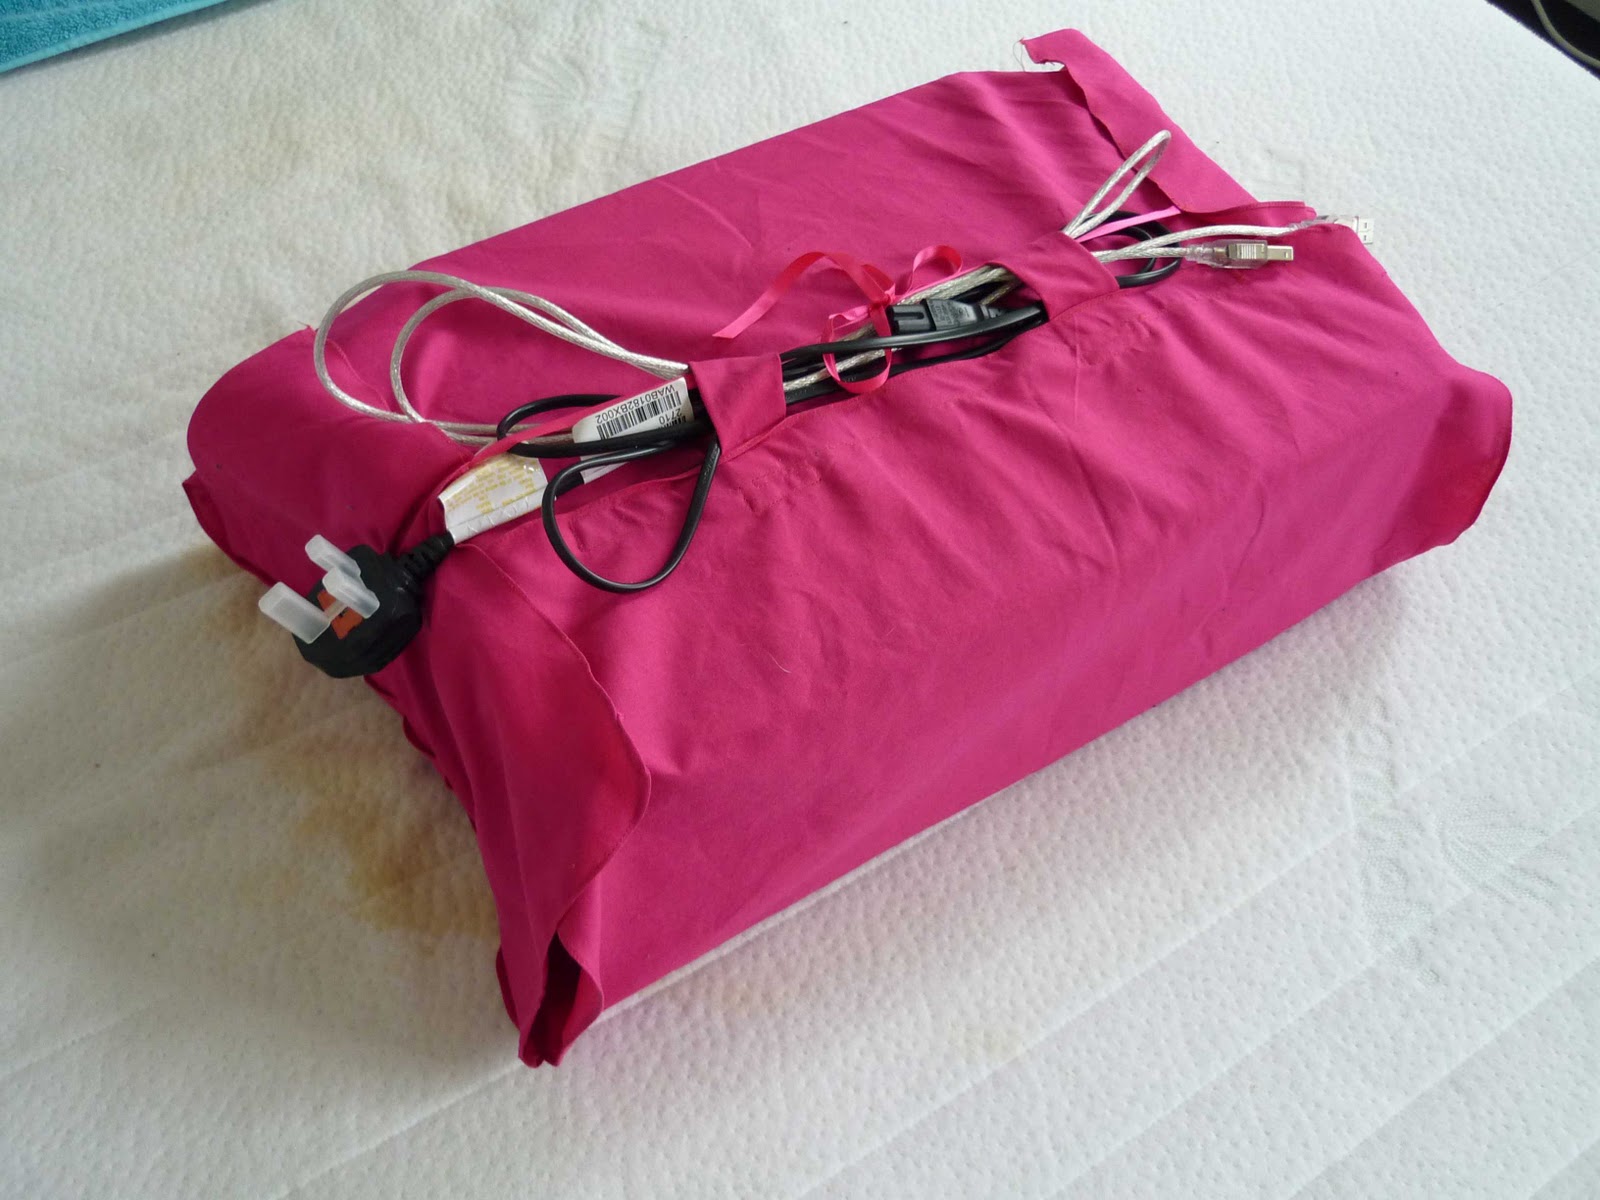
Yesterday I made a cover for our printer. It's not a complicated shape, just a cuboid, and it lives under the bed, but the box it came in doesn't. So I wanted to make a cover to stop it getting scratched and to keep the cables together with the printer.
Laid out flat
With the printer

The cover is just a basic cuboid net made out of pink cotton as you can see. The main part wraps around and fastens with velcro, and the sides tie with ribbon at the top of the printer.

The cable tidy loops also fasten with velcro and the ribbon from the sides thread through them for extra security.
It it a simple shape, the long wrap is all one piece and the sides are sewn on separately. All the pieces were hemmed using the hemmer foot so I didn't need much seam allowance.

Today I tried to make a cover for the sewing machine so that the case doesn't get scratched (and so that people don't try to pick it up by the handle!) I used some cloth which I have which has two layers and is an iridescent purple colour. The underneath layer has quite thick threads, so it frays quite easily but the two layers are woven together using regular stripes which makes it easy to cut straight lines!

Fabric ready for cuttingSide pieces cut out
I thought I could use the hemmer foot but the fabric was too thick to fit into it so instead I pinned and sewed them with the normal foot:
Pinned edgeHemmed corner finished

So here is the finished cover
The only problem is that I didn't leave enough seam allowance so it doesn't actually fit properly around the machine. It ties around with ribbon so it fits around but doesn't cover all of the corners.
I'm going to cut it in half and add a strip of contrasting fabric so that it fits properly. I might see if I can find some aida band and add small motifs to make it pretty.

Sunday, September 18, 2011

Birthday card - 14/9/11

Today is my friend's birthday, so the other day I made a card to send to her.
The 'happy birthday' is ribbon which goes all around the card, the flowers are cut out of semi-transparent paper, and the name is made of individual sticky letters.
Can you tell that most of my card-making things are still following the purple theme?
I hope she likes it. Happy Birthday Ros.

Hopefully I will have time to do more crafty things now the summer is over. I have my sewing machine now so maybe I can even make some exciting things from fabric!

Saturday, June 18, 2011

Wedding favour - 16/6/11

I decided to see if I could make some wedding favours which were sugar flowers, to show off my flower-making and also because I don't like sugared almonds, the traditional favour.
As the main flower at the wedding will be calla lilies, I made some and then tried to arrange them in a pretty way. They are doubling up as place names.

I was originally going to do just one flower each, but that didn't look very good so I made a little bunch of three. This does mean I'm going to have to make three times as many flowers, but never mind.
The stem is made out of half a wooden kebab stick painted with green food colouring. I made the flowers out of white paste and then painted them afterwards, but colouring first would probably give a better colour.
They are similar to the calla lilies I made before, but I bought a proper cutter so that I don't have to make the shape each time. The stamens are about an inch long and the petal is about 2 1/2 inches long by 1 1/2 inches wide. If you didn't want to buy a special cutter, you could use a similar sized leaf cutter and cut the stem end off.
(Cross-posted to Marzipan's Cakes)

Monday, April 4, 2011

Notelet - 4/4/11

I was listening to a programme on the radio about how writing actual letters (not emails) is good, and I remembered that I owe a friend a letter from Christmas time. (The programme is available until next Sunday 10th April from iPlayer if you're interested)

I have some notelets but I thought it would be nice to make her a card as she is quite a crafty person herself. I wrote the letter and then I decorated the card. Here it is:

The design is done so that the card is landscape but it would look just as good on a portrait card as well:

It is made from a white pre-folded A6 card, pink paper, flowers from the patterned purple translucent paper and copper coloured skeleton leaves.
I seem to be keeping the postal system in business lately, I'm sending so many cards. I had forgotten how much I liked making them!

Wednesday, March 30, 2011

Wedding invitations - January - March 2011

In January, I started designing these wedding invitations. The colour theme was dark purple, with not many other theme-y ideas decided, so I went to the craft shop to get various things I could use on invitation designs. I cam back with white A4 card, dark purple A4 paper, translucent paper decorated with purple flowers, purple ribbon, silver skeleton leaves and silver stick-on decorations.

Using these, I came up with four different designs for an invitation card based on a folded A5 piece of card:
Simple design with just coloured paper and a silver leaf
Split the card horizontally between plain purple paper
and translucent flowery paper with a ribbon hiding the transition,
with a silver leaf on the bottom half.

Card split vertically between patterned paper and
plain white card, ribbon under the translucent paper.
Two silver leaves near the open edge.
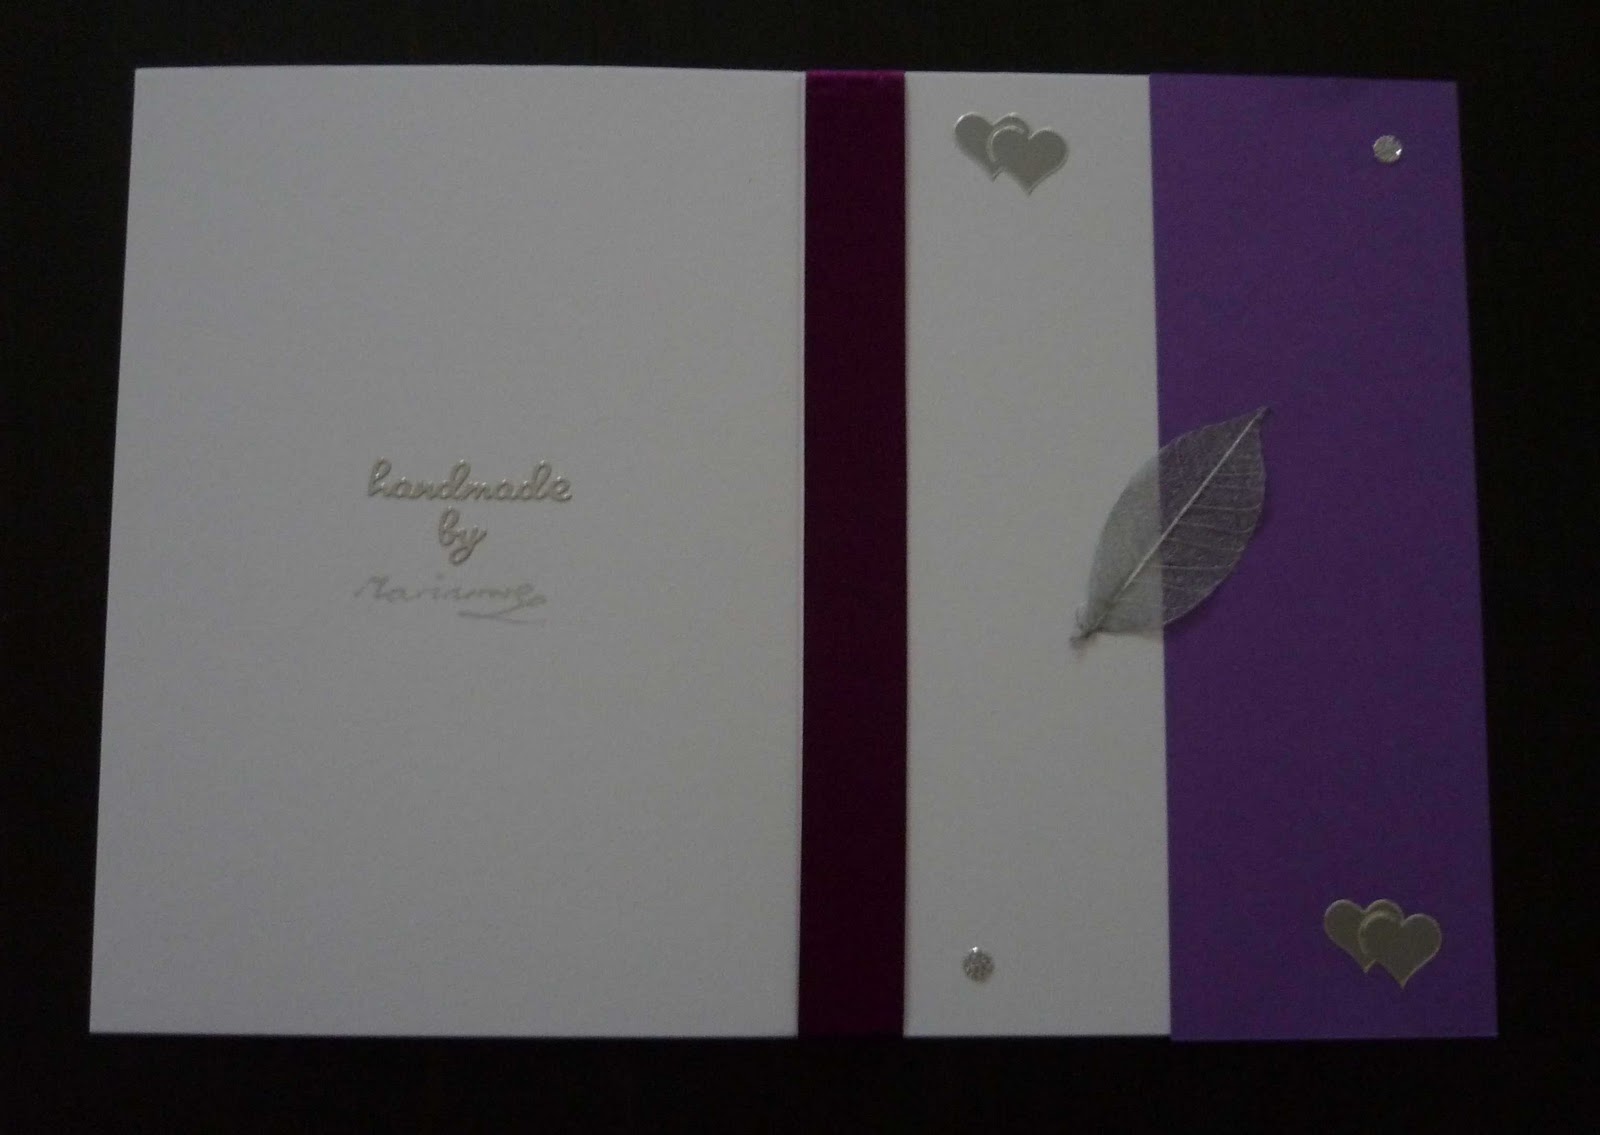
Card split vertically with plain white card and purple paper,
ribbon down the folded edge and a skeleton leaf in the centre.

 ________________________________________________________________________
We chose the fourth design, replacing the copper coloured skeleton leaf with a silver one. The ribbon also changed in the final version to a more solid purple as the translucent ribbon tended to unravel at the ends where they were attached to the inside of the card. Final design shown below:
Unfolded final invitation.
 Orders of service will be shown in a later post.

Monday, March 28, 2011

Birthday card - 28/3/11

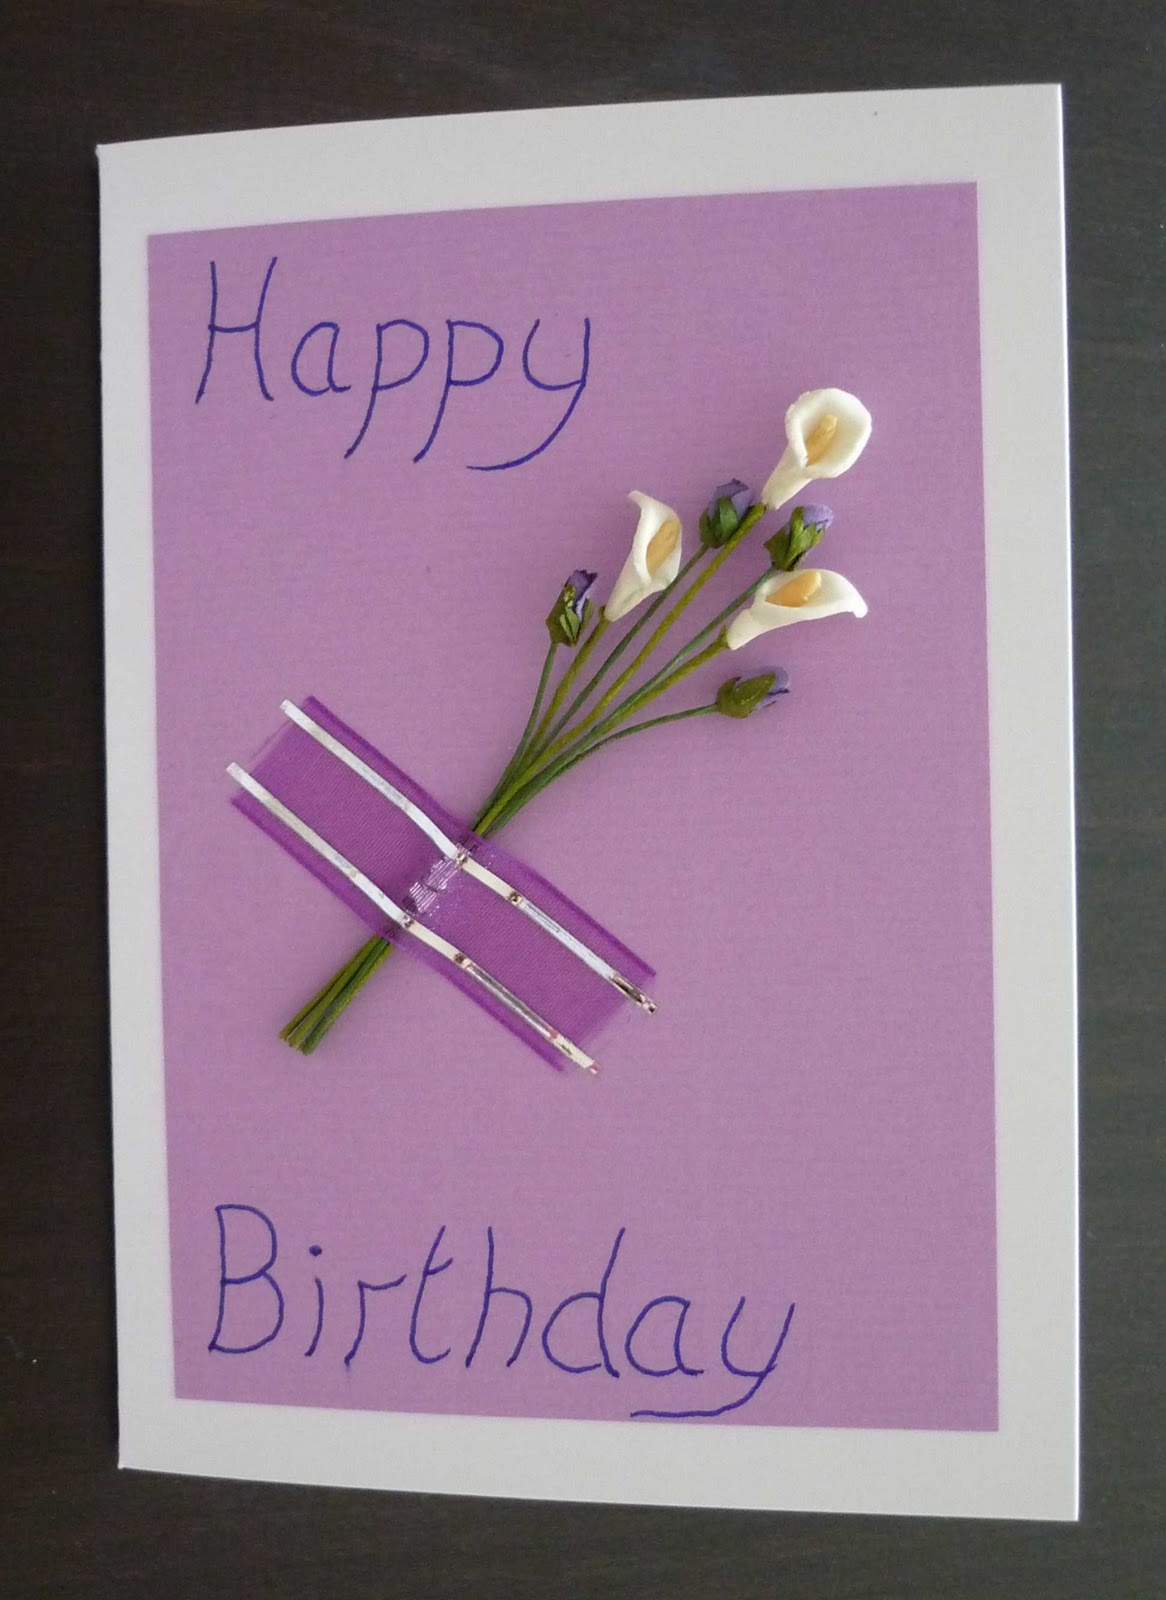
I'll start this blog of crafts with a birthday card which I made this morning. The card is a pre-folded A5/A6 card. Decorating it are paper miniature flowers and ribbon with lilac paper as a background. It's unlined and the lettering is done by hand.
 The flowers are meant to be white calla lilies and purple rosebuds. I bought these pre-made.